Trailer lighting failures are common and dangerous, especially at night or in bad weather. Dim, flickering, or non-working lights increase the risk of rear-end collisions and can lead to traffic fines. Correct wiring ensures visibility, safety, and legal compliance.
To wire LED lights to a trailer, connect the ground, tail, brake, and turn signal wires from the trailer to the vehicle’s harness, using proper color codes, solid grounding, and weatherproof connections.
Good trailer wiring keeps you visible, safe, and road-legal.
Now let’s break the process down step by step.
Understanding the Basics
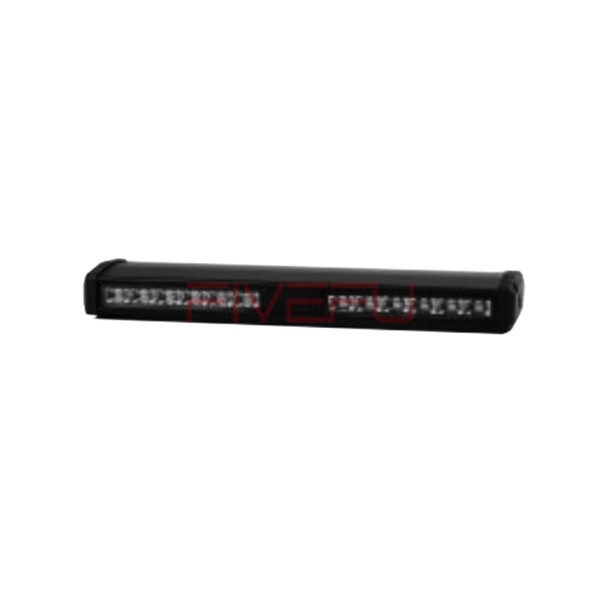
A standard trailer lighting system usually includes:
-
Tail / Running lights
-
Brake lights
-
Turn signals
-
Reverse lights (optional, typically on 7-pin systems)
LED trailer lights work similarly to incandescent bulbs but offer lower power consumption, faster response time, and longer lifespan. However, they are more sensitive to poor grounding, making correct installation especially important.
Tools and Materials Needed
Before starting, prepare the following tools and supplies:
-
LED trailer light kit
-
4-pin or 7-pin trailer connector (match your vehicle)
-
Crimp connectors or soldering kit
-
Wire stripper / cutter
-
Heat-shrink tubing & electrical tape
-
Zip ties or cable clamps
-
Test light or multimeter
-
Dielectric grease (recommended)
Trailer Wiring Color Codes (Most Common)
Understanding wire colors is critical:
-
Brown – Tail / running lights
-
Yellow – Left turn signal & left brake
-
Green – Right turn signal & right brake
-
White – Ground
-
Blue (7-pin) – Electric brakes
-
Black (7-pin) – 12V power
-
Purple (7-pin) – Reverse lights
⚠️ Always confirm with the wiring diagram included in your kit, as colors may vary by manufacturer.
Step-by-Step: How to Wire LED Lights to a Trailer
1️⃣ Mount the LED Lights
Secure the LED tail lights and side markers to the trailer frame using bolts, screws, or brackets. Ensure they are symmetrical, level, and clearly visible.
2️⃣ Identify Each Wire Function
Use the included wiring diagram or a multimeter/test light to confirm each wire’s purpose before connecting.
3️⃣ Connect the Ground Wire (Most Important Step)
-
Attach the white ground wire to a clean, bare metal surface on the trailer frame
-
Remove paint, rust, or coating
-
Use a star washer or self-tapping bolt for a solid connection
👉 Poor grounding is the #1 cause of LED trailer light problems.
4️⃣ Splice the Signal Wires
Connect each trailer wire to its corresponding function:
-
Brown → Tail lights
-
Yellow → Left turn/brake
-
Green → Right turn/brake
Use crimp connectors or solder joints for reliability.
5️⃣ Test Before Sealing
Plug the trailer into the vehicle and test:
-
Running lights
-
Brake lights
-
Left & right turn signals
-
Reverse lights (if applicable)
Fix any issues before sealing the connections.
6️⃣ Seal and Protect Connections
-
Slide heat-shrink tubing over joints
-
Apply heat until sealed
-
Wrap with electrical tape if needed
-
Add dielectric grease to connectors for corrosion resistance
7️⃣ Secure the Wiring
Route wires neatly along the trailer frame using zip ties or cable clips.
Avoid sharp edges, suspension parts, or areas exposed to heat and movement.
Tips for Trouble-Free Trailer LED Wiring
✔ Clean all grounding points thoroughly
✔ Use weatherproof connectors
✔ Apply dielectric grease to prevent corrosion
✔ Install an inline fuse or breaker for protection
✔ Label wires for future repairs
✔ Never stretch or pinch wires across moving parts
Summary
Proper LED trailer wiring improves visibility, enhances safety, and keeps your trailer street-legal. With correct grounding, clean connections, and thorough testing, your trailer lights will perform reliably in all conditions.