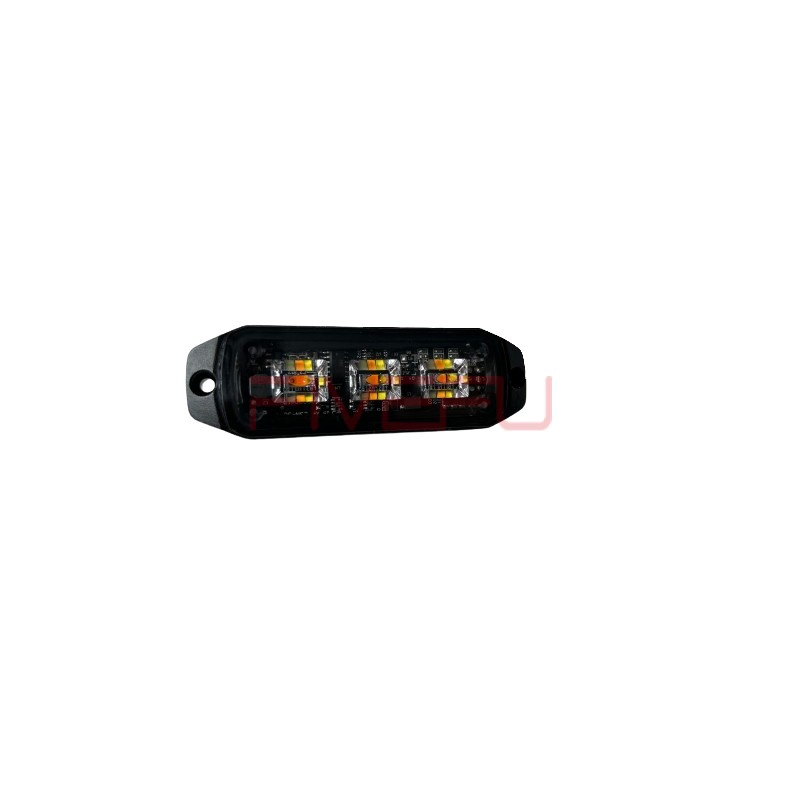
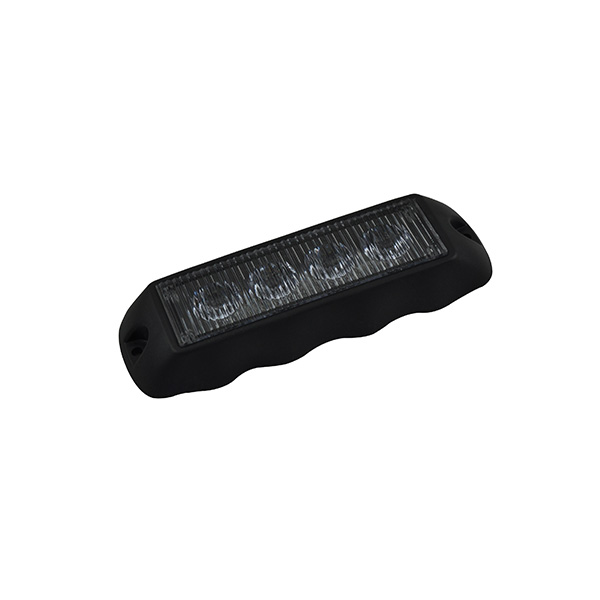
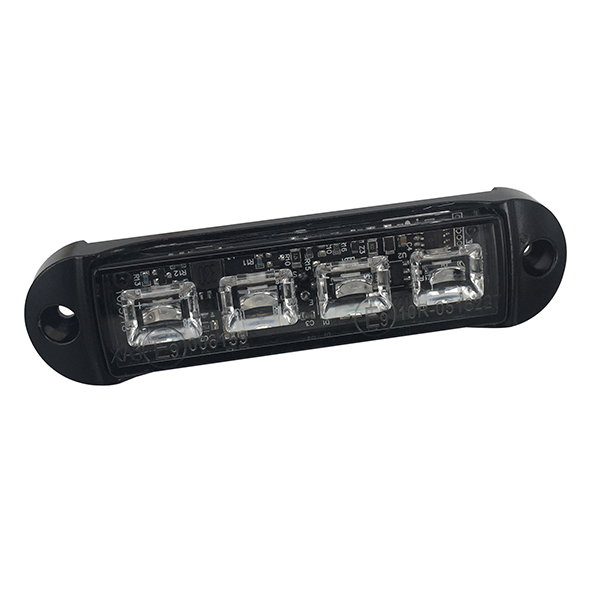
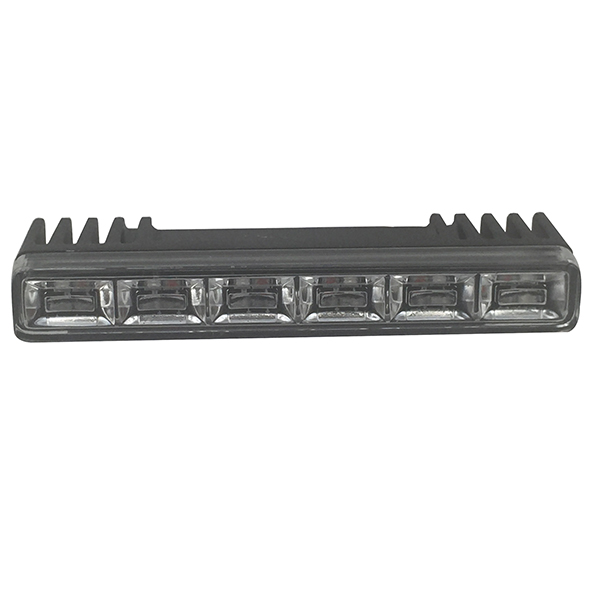
Installing LED grill lights on a vehicle can enhance visibility and safety, especially for service or emergency vehicles. Here’s a step-by-step guide:
Step 1: Selecting Your LED Grill Lights
Compatibility: Ensure the lights are compatible with your vehicle’s voltage and have the necessary brightness and color for your application.
Quality: Choose durable, weather-resistant lights from reputable manufacturers.
Step 2: Planning the Installation
Location: Decide on the exact position on the grill for the lights. Consider symmetry and visibility.
Wiring Route: Plan how the wires will run from the lights to the power source and switch.
Step 3: Gather Tools and Materials
Basic tools like screwdrivers, wire cutters, and pliers.
Electrical supplies such as wires, connectors, a fuse, and a switch.
Step 4: Mounting the Lights
Drilling: If necessary, drill holes in the grill carefully to fit the lights.
Securing Lights: Use brackets or adhesive pads provided with the lights to securely mount them on the grill.
Step 5: Wiring the Lights
Power Source: Connect the lights to a power source. This could be the vehicle’s battery or an existing circuit in the vehicle.
Switch Installation: Install a switch in a convenient location for easy operation.
Grounding: Ensure a proper ground connection for each light.
Fuse: Add a fuse to the circuit for safety.
Step 6: Testing the Lights
Functionality Check: Test the lights to ensure they work as expected.
Adjustment: Adjust the positioning if necessary for optimal visibility.
Step 7: Finishing Up
Securing Wires: Use cable ties to neatly secure the wiring along the route to prevent damage or disconnection.
Inspection: Do a final inspection to ensure everything is mounted and connected securely.
How to wire led grill lights?
Proper wiring is crucial for the effective and safe operation of LED grill lights. This guide outlines a standard approach for most vehicles.
Step 1: Understand Your Wiring Requirements
Voltage Match: Ensure the LED lights are compatible with your vehicle’s voltage system (typically 12V or 24V).
Wiring Diagram: Consider creating a simple wiring diagram for your specific setup.
Step 2: Gather Necessary Tools and Materials
Wire cutters and strippers.
Electrical wires (appropriate gauge).
Connectors and soldering tools (if necessary).
Electrical tape or heat shrink tubing.
A switch for operating the lights.
A relay if higher power is required.
A fuse to protect the circuit.
Step 3: Disconnect the Vehicle’s Battery
To prevent any electrical hazards or short circuits, always disconnect the battery before starting.
Step 4: Mount the LED Lights
Install the lights in your chosen grill locations before wiring them.
Step 5: Run the Wires
From Lights to Power Source: Route the wires from the grill lights to the power source. This could be the battery or a specific circuit within the vehicle’s electrical system.
Switch Installation: Decide where to place the switch and run a wire to this location.
Relay (if used): Connect the lights to a relay, then connect the relay to the power source.
Step 6: Connect to Power Source
Direct to Battery: For a simple setup, connect the positive wire from the lights to the positive terminal of the battery (via a switch).
Using a Relay: Connect the relay to the battery and the lights to the relay. This is recommended for higher power setups.
Step 7: Ground the Lights
Attach the negative wire from the lights to a grounding point on the vehicle’s chassis.
Step 8: Install a Fuse
Place a fuse on the positive wire close to the power source for circuit protection.
Step 9: Connect and Test the Switch
Wire the switch into the circuit, ensuring it controls the flow of power to the lights.
Reconnect the battery and test the lights.
Step 10: Secure and Insulate All Connections
Use electrical tape or heat shrink tubing to insulate all connections.
Secure loose wires with cable ties to prevent damage.
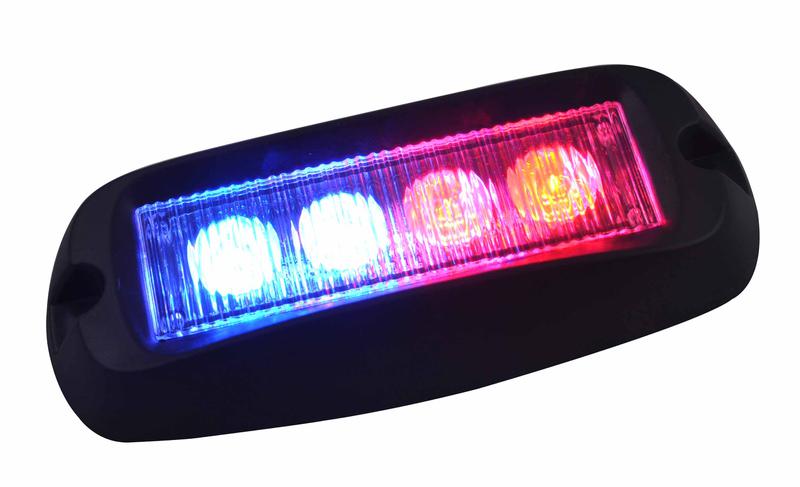
The legality of LED grill lights varies significantly based on your location and the specific use of the lights. Here are some general guidelines to consider:
Varied Regulations by Location
Different States/Countries: Laws regarding LED grill lights can differ widely from one region to another. What’s legal in one area might be illegal in another.
Local Traffic Laws: Always refer to your local traffic laws and regulations for the most accurate information.
Use in Emergency and Service Vehicles
Emergency Vehicles: Often, blue and red LED grill lights are reserved for law enforcement and emergency vehicles like police cars, ambulances, and fire trucks.
Service Vehicles: Amber or yellow lights might be used for utility vehicles, construction, towing, and roadside assistance services.
Private Vehicles
Restrictions: Private vehicles may face more restrictions, particularly concerning the color and flashing patterns of the lights.
Purpose: Generally, using LED grill lights for aesthetic purposes might face more stringent regulations.
Color and Flashing Patterns
Color Restrictions: Colors like red, blue, and sometimes amber are often strictly regulated.
Flashing Lights: Flashing or strobe lights can also be regulated, as they are typically associated with emergency or service vehicles.
General Guidelines
Consult Local Laws: It’s essential to check with local authorities or the department of motor vehicles for specific rules regarding the use of LED grill lights.
Consideration for Other Drivers: Even if legal, consider the potential impact on other drivers. Bright or flashing lights can be distracting or misleading, potentially causing safety issues.
How to change led light batteries on broil chef grill?
Step 1: Locate the LED Lights
Identify where the LED lights are situated on your grill. Common locations include the handle for lighting the grill area or on control knobs.
Step 2: Access the Battery Compartment
Most LED lights on grills have a small battery compartment.
Look for a small screw or clip that secures the compartment.
Step 3: Open the Battery Compartment
Use an appropriate screwdriver to open the compartment if it’s screwed shut.
If it’s a clip or latch, gently open it using your fingers.
Step 4: Remove Old Batteries
Carefully take out the old batteries.
Note the orientation of the batteries as you remove them to ensure you insert the new ones correctly.
Step 5: Insert New Batteries
Replace with new batteries of the same type. The battery type (like AA, AAA, etc.) is usually indicated on the compartment or in the grill’s manual.
Ensure the batteries are inserted following the correct polarity (the + and – symbols should align with the markings in the compartment).
Step 6: Close the Battery Compartment
Once the new batteries are in place, close the compartment.
Secure it with the screw or clip you opened earlier.
Step 7: Test the LED Lights
Turn on the LED lights to ensure they are working with the new batteries.
LED Grill Lights for Trucks
Overview
Purpose: Often used for utility and safety, especially in larger trucks like pickups, tow trucks, or semi-trucks.
Visibility: Essential for increased visibility due to the larger size of trucks.
Features
Durability: Designed to withstand harsh conditions, given trucks’ frequent use in rugged environments.
Brightness: Generally brighter to compensate for the larger vehicle size.
Colors: Amber is a common color for utility and safety, but other colors are available for customization.
Installation Considerations
Power Source: Usually wired directly to the truck’s electrical system.
Mounting: More options for mounting given the larger grille area.
Regulations: Compliance with local laws for light colors and usage, especially for commercial trucks.
LED Grill Lights for Cars
Overview
Purpose: Primarily for aesthetic enhancement, but also used for added safety in smaller service vehicles.
Visibility: Useful for increasing visibility in smaller vehicles, especially in low light conditions.
Features
Compact Design: Smaller in size to fit car grills.
Variety: Wide range of colors and styles for customization.
Intensity: Balanced to be effective without overwhelming glare.
Installation Considerations
Power Source: Can be connected to the car’s battery or existing lighting circuit.
Mounting: Limited space may require precise placement.
Regulations: Important to check local laws, particularly regarding color and flashing patterns.
Legal and Safety Aspects
Color Regulations: Typically, red and blue are reserved for emergency and law enforcement vehicles.
Flashing Lights: May be restricted or illegal in some areas.
Distraction: Avoid excessively bright or distracting lights that could impair other drivers.
Overview
Purpose: Often used for utility and safety, especially in larger trucks like pickups, tow trucks, or semi-trucks.
Visibility: Essential for increased visibility due to the larger size of trucks.
Features
Durability: Designed to withstand harsh conditions, given trucks’ frequent use in rugged environments.
Brightness: Generally brighter to compensate for the larger vehicle size.
Colors: Amber is a common color for utility and safety, but other colors are available for customization.
Installation Considerations
Power Source: Usually wired directly to the truck’s electrical system.
Mounting: More options for mounting given the larger grille area.
Regulations: Compliance with local laws for light colors and usage, especially for commercial trucks.