Wiring an LED beacon involves a few straightforward steps, but it’s essential to follow these instructions carefully to ensure safety and proper operation. Here’s a guide to help you wire an LED beacon, but remember, if you’re unsure about any step, it’s best to consult with or hire a professional electrician to do the job for you.
Tools and Materials Needed:
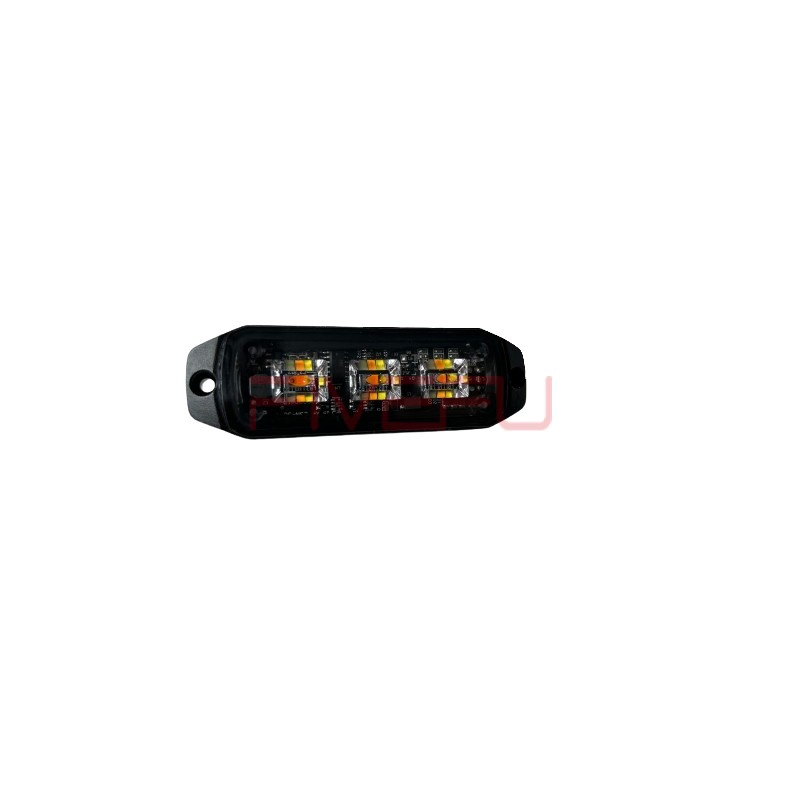
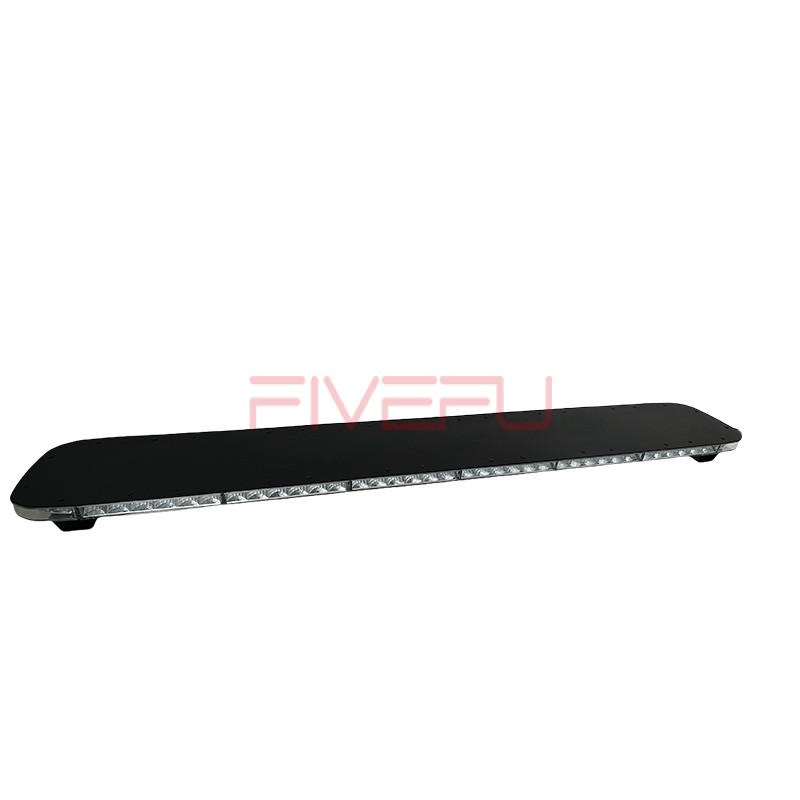
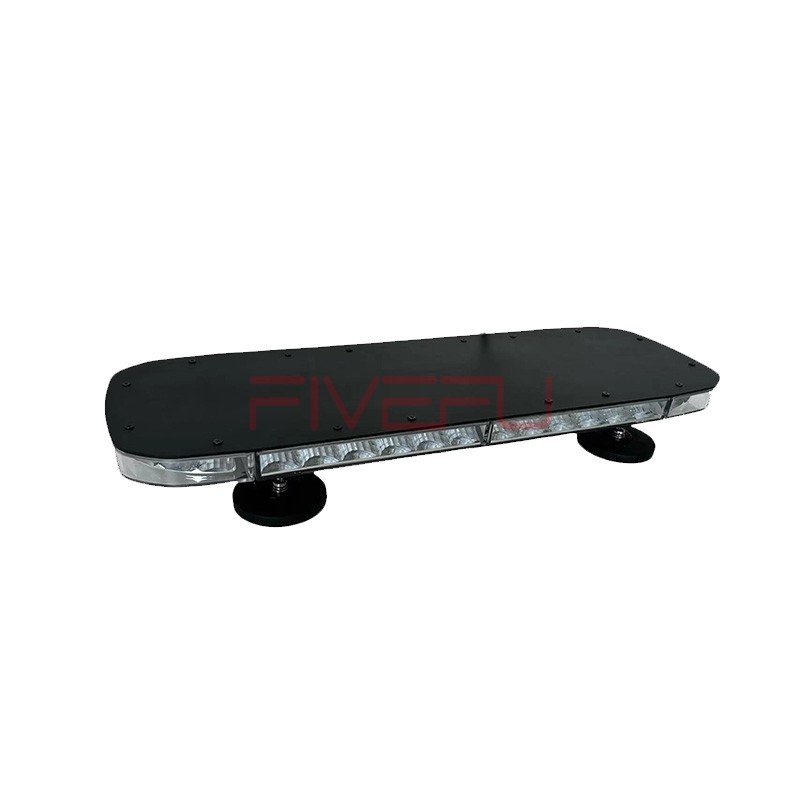
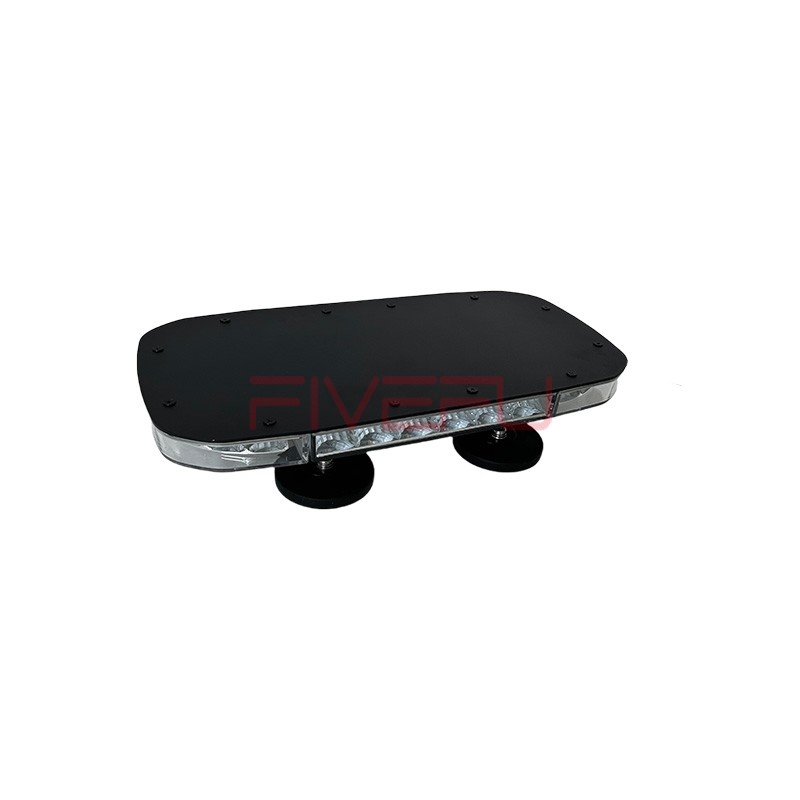
- LED beacon
- Wire stripper
- Screwdriver
- Electrical tape
- Wire connectors (if necessary)
- Voltage tester
- Appropriate gauge wiring (as recommended by the LED beacon manufacturer)
Safety Precautions:
Turn Off Power: Before starting, make sure the power supply to the area you’re working on is turned off to prevent electric shock.
Wear Protective Gear: Use safety gloves and glasses to protect yourself during the installation process.
Check Voltage Requirements: Ensure the LED beacon’s voltage requirements match your power supply to avoid damaging the beacon or causing a safety hazard.
Wiring Steps:
Identify Wiring Requirements: Check the LED beacon‘s manual for the wiring diagram and requirements. Typically, you’ll have a positive (red), negative (black), and possibly an earth ground (green or bare wire).
Prepare the Wires: Using the wire stripper, strip about ½ inch (1.27 cm) of insulation from the ends of the wires you’ll be connecting to the LED beacon.
Connect the Wires:
Positive Wire (Red): Connect the positive wire from the power source to the positive terminal on the LED beacon. This is usually marked with a “+” sign or might be color-coded red.
Negative Wire (Black): Connect the negative wire from the power source to the negative terminal on the LED beacon. This is typically marked with a “-” sign or might be color-coded black.
Ground Wire (Green or Bare): If your LED beacon has a ground connection, attach the ground wire from your power source to this terminal.
Secure Connections: Use wire connectors to secure the wire connections. Ensure that the connections are tight and secure to prevent any loose connections which can lead to malfunctions or safety hazards.
Insulate the Connections: Apply electrical tape around the wire connectors and any exposed wires to insulate the connections properly.
Test the Beacon: Once all connections are secure, turn on the power supply and test the LED beacon to ensure it operates correctly.
Final Installation: If the LED beacon is functioning as expected, proceed to mount it securely in your desired location, following the manufacturer’s mounting instructions.
Additional Tips:
Waterproofing: If the LED beacon is to be used outdoors or in a potentially wet environment, ensure all connections are waterproofed or contained within a waterproof enclosure.
Follow Local Regulations: Make sure your installation complies with local electrical codes and regulations.